 in the constraints bar. Enter x13.75y13.75<enter>
to set the width and height of the rectangle. Turn relative coordinates
back off.
in the constraints bar. Enter x13.75y13.75<enter>
to set the width and height of the rectangle. Turn relative coordinates
back off.[ Back to main page | Tutorial | A practical example ]

We will be modelling the Upper Tube Assembly from my Miatascope.
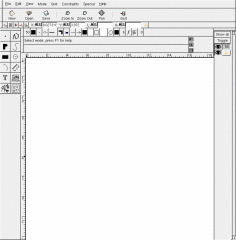
Start xdraft with no arguments to start with a blank canvas.
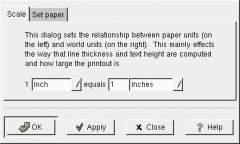
Optional:
Select
Setting the units is not terribly important. Mostly this tells xdraft how to convert line thickness and font height when printing
Our telescope cabinet is about 14 inches across, so a scale of "1 inch equals 3 inches" is about right if we'll be printing this a 8½x11" paper.

Optional: Use Special > Add borders to add page borders (in blue) and a border around the drawing area.
The border has been scaled based on our 1 inch = 3 inches scale factor so that our usable workspace is roughly 21x30 inches.
The upper tube assembly is an octagon, 13¾ inches across. We'll start by defining a rectangle with those dimensions.
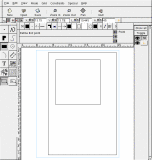
Enter Rectangle mode. Place the first vertex.
Turn on
relative coordinates
 in the constraints bar. Enter x13.75y13.75<enter>
to set the width and height of the rectangle. Turn relative coordinates
back off.
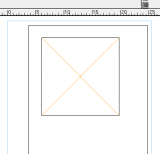 We'll use some quick construction lines to identify the center of the rectangle.
First, click the
constructions lines
 button in the constraints bar.
Next, enter Lines mode, turn on
vertex snap
 ,
and draw two lines across the corners of the rectangle.
Finally, enter Point Intersection mode
 and put a point at the intersection of the
two construction lines.
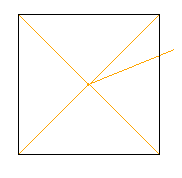 We'll now create more construction lines at 22½° intervals from the center point
and ending at the rectangle. Enter Line mode. Turn on vertex snap. Draw out
a line. Set the angle to 22.5° and lock it.
(Note that you could also have set the Angle Snap constraint to 22.5° and used Angle Snap instead.)
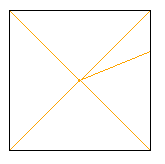 Use Line Trim 1 mode to end the construction line at the rectangle.
 Add some more construction lines.
Turn off construction mode.
 We don't need the rectangle any more, so I've deleted it along with a couple
of construction lines we don't need any more.
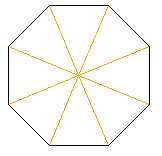 Now we use Polyline mode
  to connect all the
construction line endpoints. We could also just draw eight
line segments, but Polyline is better because it makes a clean line join at
all vertices.
Good:  Not so good:
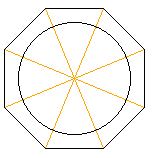 Finally we add the center circle which is 11 inches in diameter. Go to
Circle mode. With vertex
snap still on, set the center of the circle at the center of the octagon.
Enter the radius with L5.5, or if you're too lazy to divide 11 by two in your head, just go ahead and type L11/2. Hit enter to create the circle.
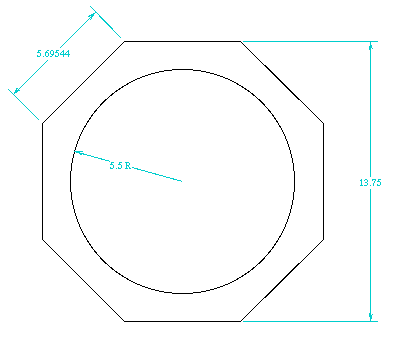 Now for some dimensions. Go to
pen color and choose a pleasing color
for the dimension. Use the
layer attribute to set the drawing layer
to a new value (say 30). Add some nice dimensions.
Note that I've hidden the construction layer in the layer dialog for this picture.
There's enough room on the page for the profile view, so we'll go ahead and draw it here.
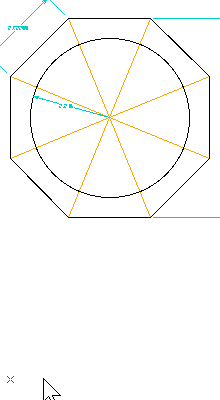 We'll start with a rectangle eight inches high and the same width
as the drawing above. Enter Rectangle mode. Turn on
Grid Snap
  and
Vertex Snap
  .
.
Move the cursor close to one of the left-most corners of the drawing above until you see it snap to a vertex. Then press Shift-X to lock the X coordinate.
Bring the cursor down to where you would like to start the rectangle. Click to define the first point. Unlock the X coordinate.
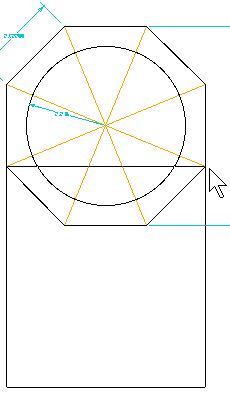 Bring the other corner of the rectangle up until it snaps to the right
edge of the polygon. Lock the X coordinate again.
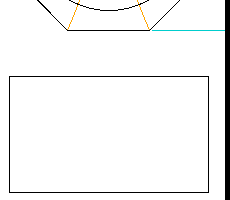 Set relative coordinates
  .
Bring the top of the rectangle down until the Y
data field shows eight inches, or enter y8 to set it directly.
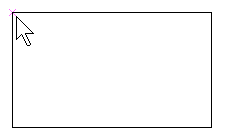 Now we need a couple of construction points. Turn on the
construction button
  in the constraints bar.
Turn on Vertex Snap
  .
Turn on Angle Snap
  .
.
Go to Relative Point mode.

Define the base of the relative point by clicking on a corner of the rectangle.
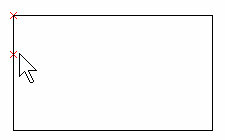 Move the cursor down. Observe how the angle snap is holding the red
x below the base point.
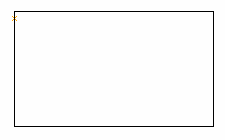 Enter the distance with the keyboard: L0.5<enter>.
Turn off construction mode.
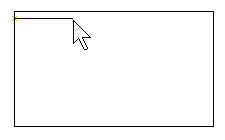 Leave vertex and angle snap on. Go to Line mode.
Start a line at the construction point you created.
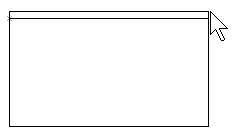 Move cursor to corner of rectangle. Vertex snap will extend the line.
Angle snap will keep it horizontal.
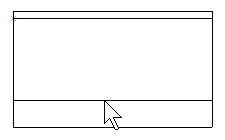 We could repeat the previous technique at the bottom, but this is a
learning exercise, so we'll use a different technique this time.
Go to Line Parallel mode ,
click on the
lower edge of the rectangle, and draw it up. Set the distance from
the original edge to the line explicitly by entering L0.5 (or
L-0.5 if the line is placed on the wrong side). Hit Enter
to create the line.
 Use the same technique to make the first vertical line.
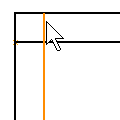
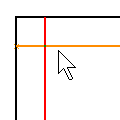
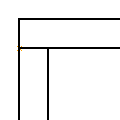 Use Line Trim 1
  mode
To trim the top end of this new line at the previous line.
 Repeat at the other end of the line.
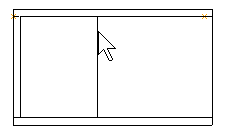 Use Line Parallel mode to create a new line segment.
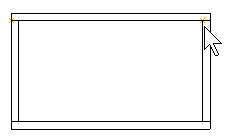 And snap it to a construction point or use grid snap.
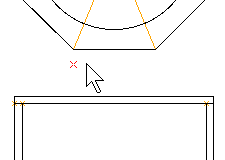 Turn off angle constraint.
Turn on vertex snap.
Go to Line mode.
Snap to a corner of the octagon and lock the X coordinate.
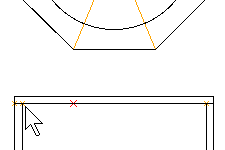 Move cursor down to snap to a location in the rectangle. Click to define the
first point of your line.
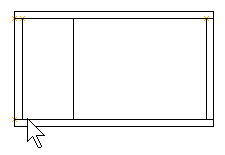 Keep X locked and snap to a location near the bottom of the rectangle.
Repeat on the right, or use Line Parallel mode to make a copy of this new line segment; position it by snapping to the other corner of the octagon.
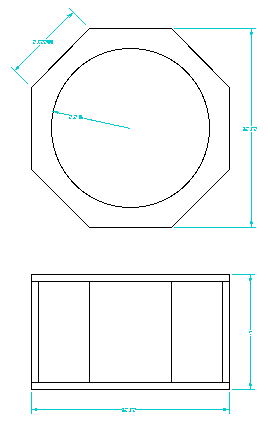 Hide the construction layer, add a few more dimensions, and we're almost done.
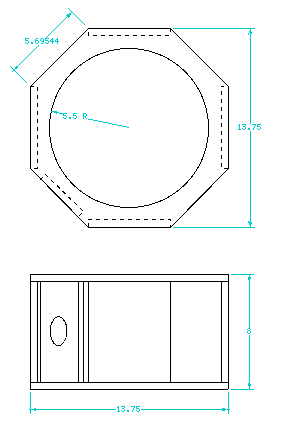 Finish off by adding some hidden lines and other details..
This would look a lot nicer if the solid areas were shaded in. We could start again, using filled polygons this time around, but here's a short cut:
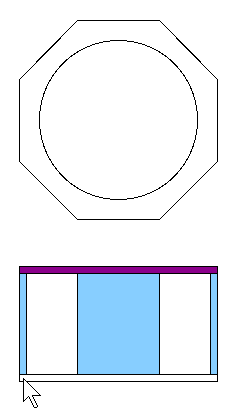 Start a new layer, say 40 so that it overlays the drawing we've already done.
Turn on vertex snap. Angle snap and grid snap can be left off.
Now draw rectangles and polygons on top of the existing geometry, using the vertices of the existing geometry as your guides.
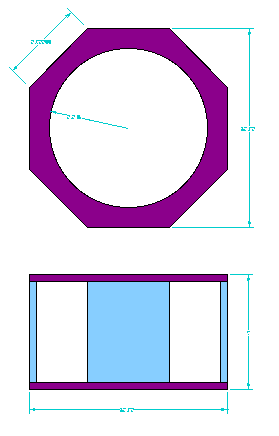 The hollow octagon on top is a little tricky, but we can fake it by drawing a
solid polygon on top of it, and then a white circle on top of that.
Here's the finished drawing with the dimensions layer turned back on.
If you want, hide this new layer and the dimensions layer and delete all of the original line drawings. Or keep the line drawings and you can use the layers dialog to choose which version you look at.
Orthogonal views are nice, but nothing beats an isometric view for visual clarity.

Start with another blank page and bring up the Set Grid dialog and set up an isometric grid. Set the spacing to .25"
We'll need a 1 inch equals 4 inches scale factor to fit the drawing this time (File > Set Scale). Create a page border too.
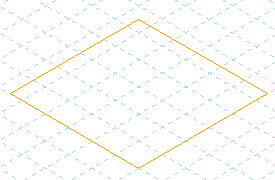 We'll start by drawing a guideline box with the right dimensions.
Turn on angle snap. Turn on Construction lines. Draw a diamond with edges of length 13.75.
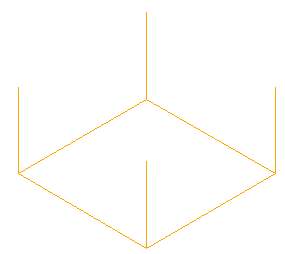 Add four verticals, length = 8 inches.
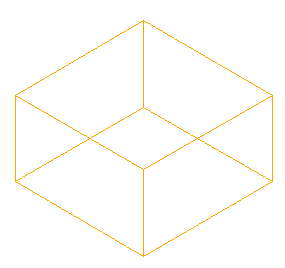 Add another diamond.
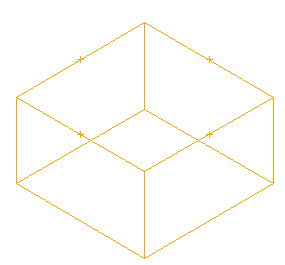 Use the Point Series mode
to find the midpoints of the upper edges. Set the desired number
of points to 1 to get a midpoint.
We now need to draw octagons inside the two diamonds. We'll start by centering the octagon sides on the midpoints we just created.
We'll need to add more construction points.
Referring to our previous drawing, we see that an edge of our octagon is 5.695 inches. We'll have to enter this manually in the next steps.
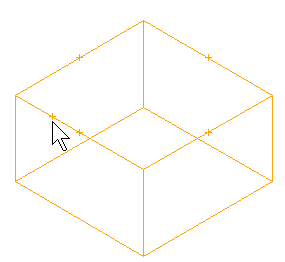 Use the Relative Point mode
along with angle snap and direct length entry ("L5.695/2") to
define the first reference point.
Big Hint: Lock the length ("Shift+L") right now to hold "5.695/2" in the length field.
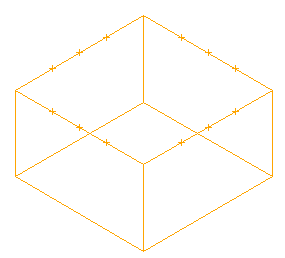 With the length locked, the remaining reference points take about
five seconds to define. Unlock the length when finished.
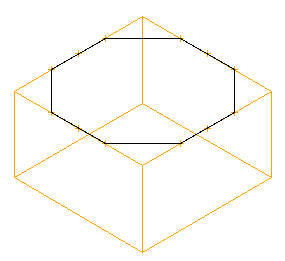 Turn off Construction mode. Draw an octagon using the construction
points we just defined.
 Draw some short 0.5" lines below the octagon.
 And another polyline to finish the octagon.
 Find the center of the octagon. Place a construction point there. Create
an isometric ellipse centered on the construction point.
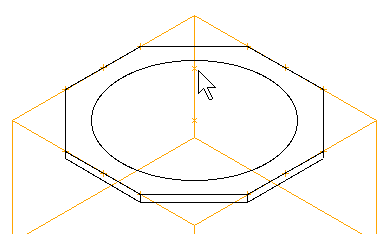 Place a construction point half an inch below the top of the ellipse.
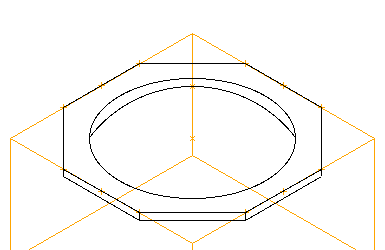 And draw an arc from the ellipse ends through the construction point.
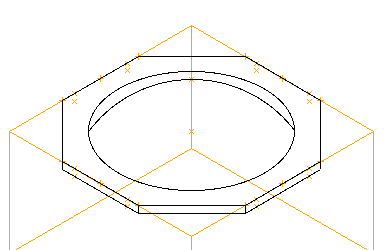 I drew the vertical panels wrong on the previous page. They're
actually only 4 inches wide. We need some more construction points
two inches from the center points and half an inch down.
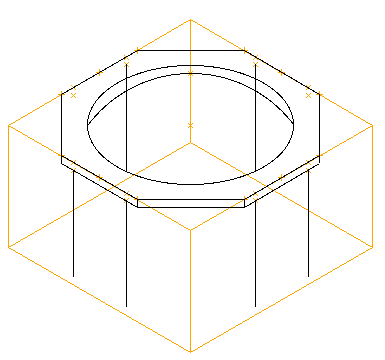 Draw lines 7 inches long
Hint: After you draw the first line, lock both the length and the angle. The remaining lines will go up as fast as you can click the mouse.
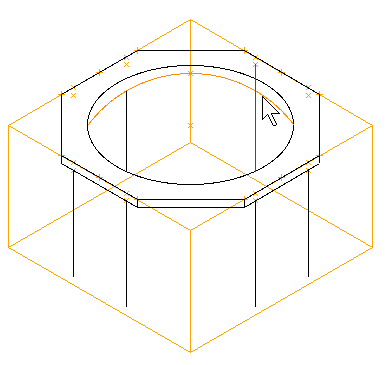 Use Line Trim 1 mode to clip two of them.
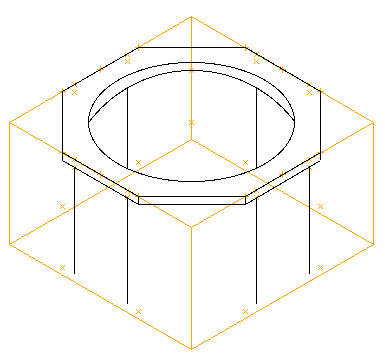 While you've got the length and angle locked, now is a good time
to add some construction points near the bottom.
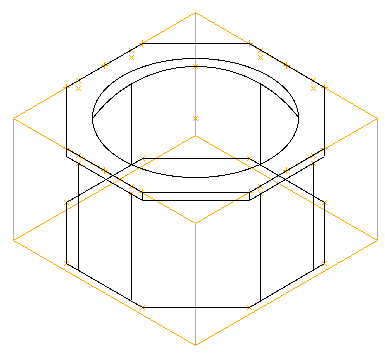 Draw in the lower octagon. You'll need to use line segments instead of
polylines because we'll be trimming them.
 And trim.
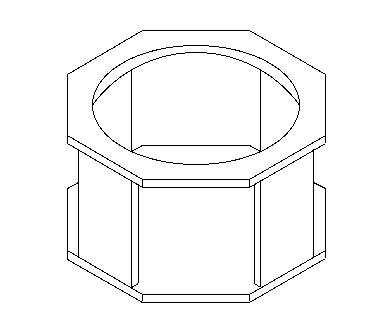 Add some more lines to finish the bottom piece.
I've hidden the construction layer to better show off the results.
 This version of xdraft doesn't have ellipse trim yet, so
we'll be drawing the lower hole with arc segments, and the ellipse
will only be for reference, so draw the ellipse
in a construction layer
Then use the ellipse as a guide to place a few short arcs.
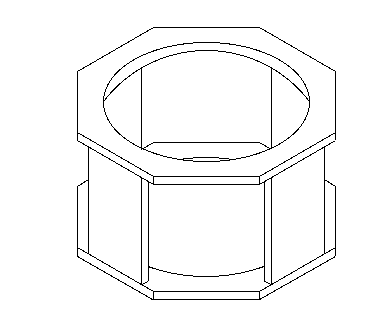 Finished.
Drawing the assembly with solid rectangles and polygons is even easier in some ways, since we don't have to clip any lines to create hidden lines. Just draw the assembly in layers and let the top layers hide the lower ones.
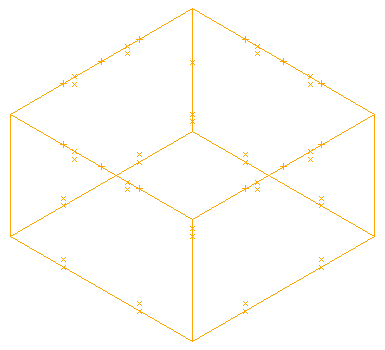 Start with just the construction layer. (Hide the layer
containing the line drawing).
Create a new layer for the bottom layer of the drawing.
 First layer: filled polygon with a filled ellipse drawn on top of it.
Add a little trim along the bottom edge.
 Create a new layer with a lower number than the previous so it will be
drawn on top.
Add the vertical sections.
(Lower layer hidden for clarity.)
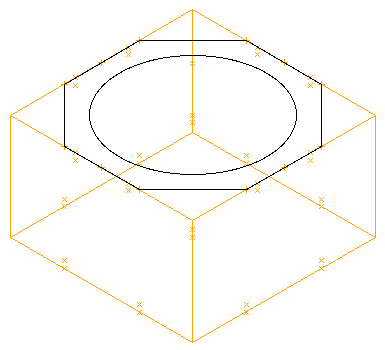 Sadly, xdraft does not yet have a way to trim a polygon against an
ellipse, so the top part of the assembly had to be painstakingly drawn.
Create another new layer to hold this part.
Start by drawing the outlines of the octagon and ellipse.
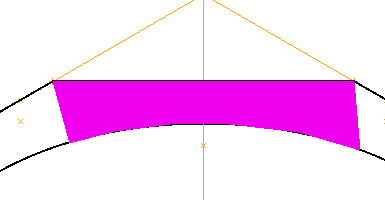 Set fill mode to solid. Set the border pen color to None.
Draw in part of the top plate with a polygon, following the ellipse reasonably closely.
It helps to zoom in to do this.
(Hint: scroll wheel zooms. Control-left button pans.)
 And so on until the entire shape is defined.
The inner ellipse is actually a many-sided polygon, but at this scale factor you won't even see it.
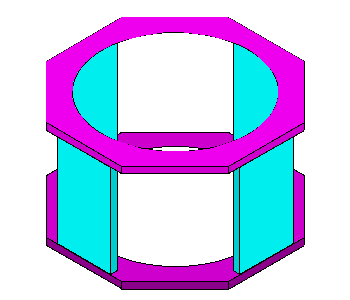 Add the last of the trim, turn the other layers back on, hide
the construction layer, and we're nearly there.
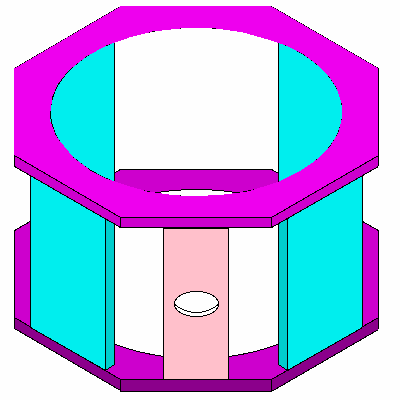 Add the focuser assembly, and we'll call it good.
I gave the focuser assembly its own layer so I can make it visible or invisible independently of the other vertical parts.
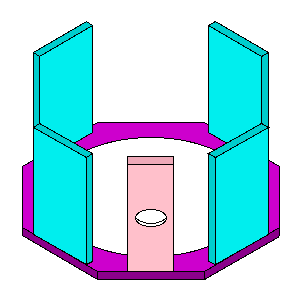
 One advantage of using multiple layers, besides giving fine control
over what element overlays what other element, is that it allows
you to hide parts of the drawing in order to better view other parts.
[ Back to main page | Tutorial | A practical example ]